Adding Templates to your Player(Old UI)

With templates, you can manage multiple content zones on a single screen, each zone containing its own playlist for versatile and targeted content display. Here’s a guide on how to use templates effectively:
1. Template Overview
Templates provide a zone layout editor that allows you to divide your screen into multiple zones. Each zone acts as an independent playlist or sub-playlist, giving you control over which content displays in each area. Once a template is assigned to a player, the player will download the template layout along with any associated playlists and media files.
To apply any updates to the template’s playlists or media, just press SYNC, and the targeted players will automatically refresh with the latest changes.
2. Creating and Managing Templates
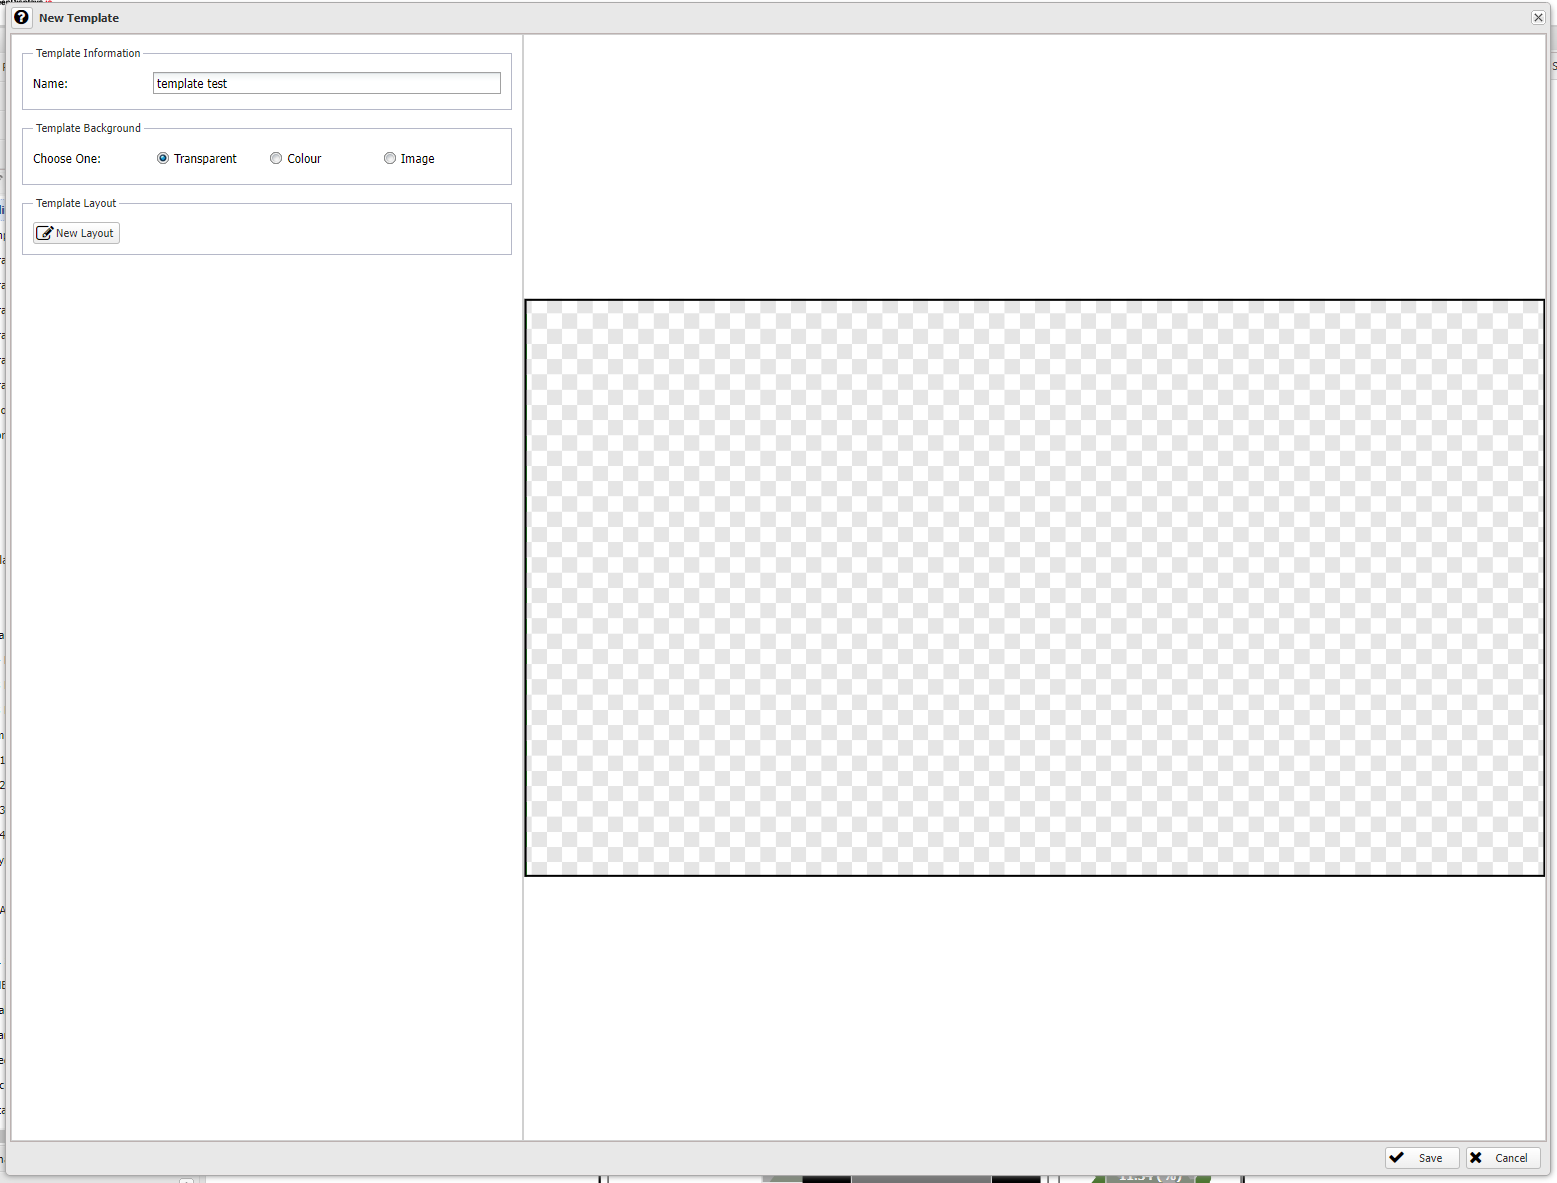
Adding a New Template:
To create a new template, click Add > New. This opens the zone layout editor, where you can design your template, set up the screen sizes for each zone, and assign playlists to each area using the zone editing pane.Duplicating a Template:
If you want to reuse an existing template as a base, select Add > Duplicate to create a copy. You can then modify it to suit your needs.Deleting a Template:
Templates can be deleted if they aren’t currently assigned to any player. Removing unnecessary templates can help keep your workspace organized.
3. Sending a Template to a Player

When you’re ready to deploy your template, you can send it directly to a player. The player will download the template layout, playlists, and any media files associated with each zone.
4. Selecting and Editing Templates
To select a template, click it in the template listing. This will allow you to edit the layout, adjust content in each zone, assign new media or playlists, and SYNC these updates to the targeted players.
Using templates enables you to organize intricate content layouts on your signage screens, creating dynamic, flexible, and visually engaging displays tailored to your audience.
Related Articles
Creating a Sub Playlist(Old UI)
Sub-playlists offer a structured way to manage, categorize, and schedule media within a main playlist, ideal for targeted content delivery on signage screens. Here’s an in-depth look at using this feature effectively. 1. Adding a Sub-Playlist To ...Adding Files to Your Playlist (Old UI)
- Access the Playlists Tab Click on “Playlists” from the left window pane. The left window pane will expand, displaying all available playlists in alphabetical order. The first playlist in the list will be automatically highlighted. The right window ...Tagging Your Content (Old UI)
From the Gallery, if you would like to tag your media with some tags you have already created, simply select the option from the menu bar and choose what tags you would like to assign to your media item. If you wish to create a new tag select and ...Scheduling your Content (Old UI)
From your Playlist, Select and Click on your media item and a new window will appear called “Edit Media” Apply Transitions: If you want to add a transition effect for how the media item will appear (such as zoom, fade, bounce, etc.), you can use the ...Adding Files to your Gallery (Old UI)
To add content to your signage player, you must first access the gallery feature, where here you can upload all of your media files. Click on “Gallery” in the left window pane. The left window pane will expand, and the right window pane will now show ...