Free External Tools for Content Optimization
Here are a few free online tools that can help with video conversion, image resizing, and video splitting:
1. Image Resizing Tool: Img2Go
To resize images to the correct dimensions, use Img2Go.
- Go to the website and choose "Convert to JPG".
- Drag your image into the upload area.
- Select Dimensions (px) and enter Width: 1920px and Height: 1080px.
- Save the resized image to your computer.
 Make sure you enter the correct dimensions for Width and Height based on your screens size.
2. Video Conversion Tool: Video2edit
If your video exceeds the file specs (e.g., incorrect dimensions, frame rate, or data rate), you can use Video2edit to convert and optimize your video.
- Go to the website and select "Convert to MP4".
- Drag your video into the upload area.
- Set the frame rate to 25 fps.
- For a 2x2 LED screen, enter a Screen Size of Width: 1920px and Height: 1080px.
- Set the bitrate to 3000 kbps (you can increase it to 3500 kbps if needed for quality).
- Click Start to begin the conversion and download the optimized video.
 Note: Keeping the bitrate around 3500 kbps ensures smoother playback and lower processing demands.
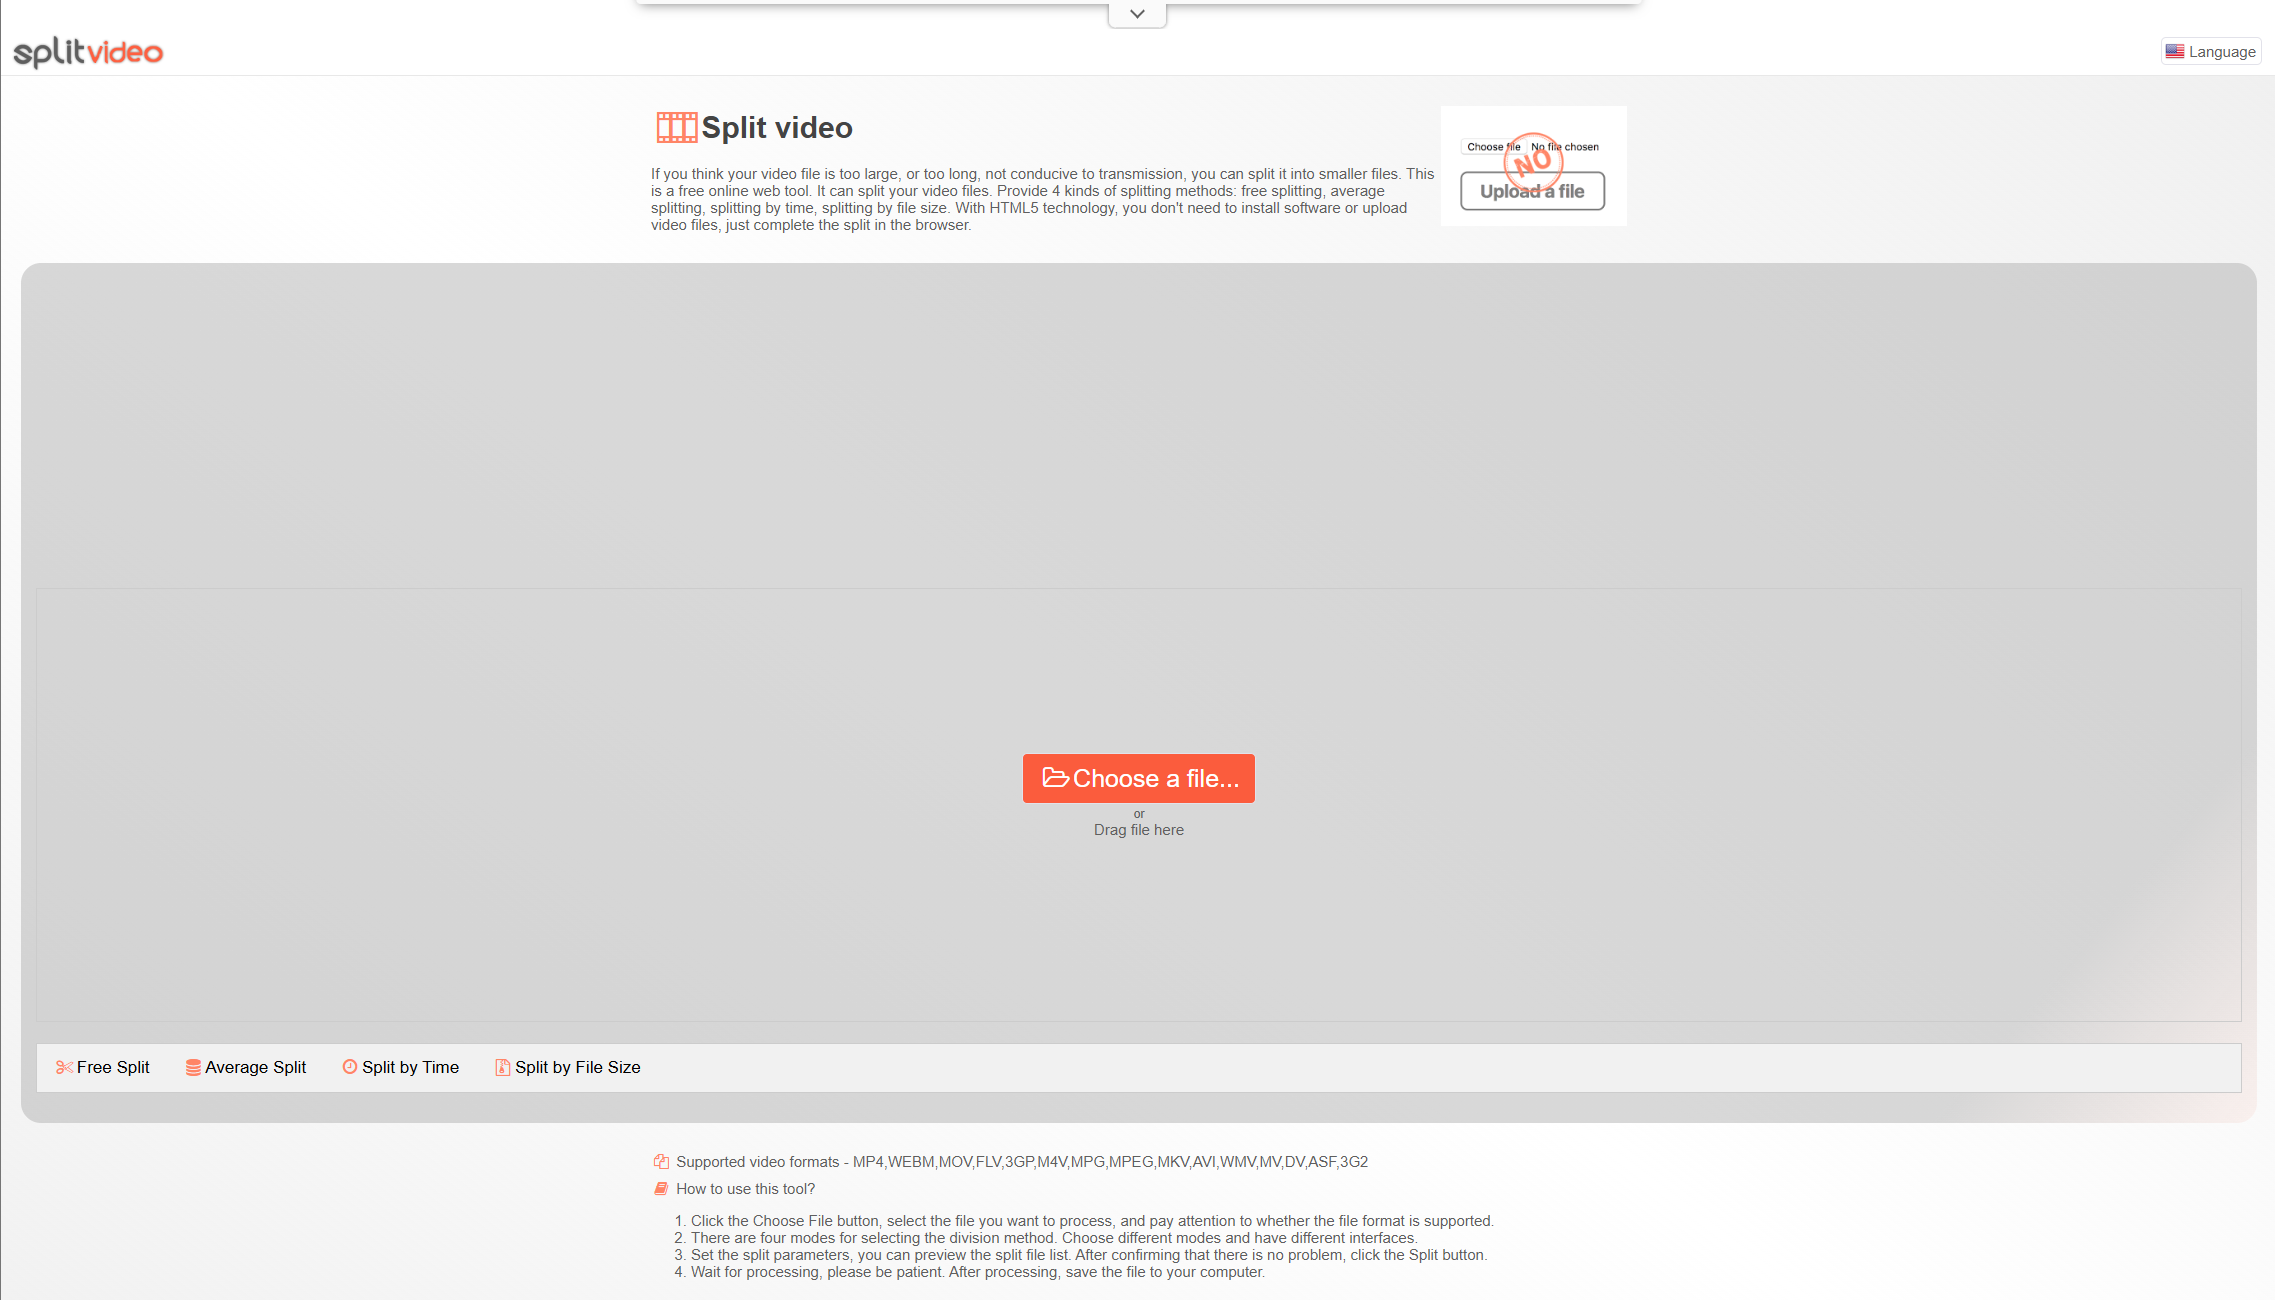
3. Split Video: Online Video Splitter
If your video exceeds 100 MB, you can split it into smaller parts using Split Video.
- Upload your large video file.
- Use the markers to set the start and end points for the portion you wish to save.
- For example, if you have a 60-second video that is 180 MB, split it into two 30-second videos, each around 90 MB.
- Save the first part, then re-upload the original video and set new start and end points for the second part.
- Download both videos.
4. PowerPoint to MP4 Converter: Online-Convert
Online-Convert.com allows you to convert various file types into video formats. To use it, go to the "Video Converter" section, where you can upload files (such as images or audio files) and select a target video format (like MP4, AVI, etc.). Once selected, the site will create a video using your uploaded content, which can be downloaded. Before converting, you can adjust options like resolution, file size, and quality.
 Please make sure that your file(s) match the content file specification, you can check the information here.
These tools can help ensure your content meets the signage player specifications for smooth and reliable playback.
If you require further assistance and are facing some trouble with your content, please don't hesitate to reach out, you can create a ticket here:
Related Articles
Content File Specifications
To ensure smooth playback and optimal visual quality, it's crucial to follow the specified content guidelines for digital signage. This updated guide includes new specifications for both images and videos to help you prepare your content. General ...Tagging your Content
From the Gallery, you can tag your files to help organize your media which in return provides easier access to the gallery when searching for content to add to your playlists. If you wish to create a new tag, select from the User Tags tab and enter a ...Scheduling your Content
1. From your Playlist, Select your media item using the checkbox and Click the Media Settings button, a new window will appear called “Edit Item” Apply Transitions: If you want to add a transition effect for how the media item will appear (such as ...Tagging Your Content (Old UI)
From the Gallery, if you would like to tag your media with some tags you have already created, simply select the option from the menu bar and choose what tags you would like to assign to your media item. If you wish to create a new tag select and ...Scheduling your Content (Old UI)
From your Playlist, Select and Click on your media item and a new window will appear called “Edit Media” Apply Transitions: If you want to add a transition effect for how the media item will appear (such as zoom, fade, bounce, etc.), you can use the ...